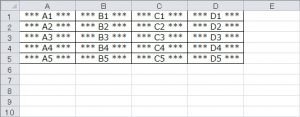
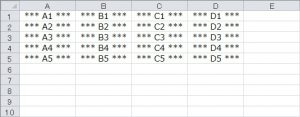
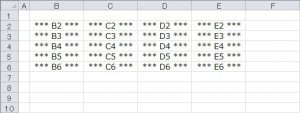
スタイルを指定せず罫線を設定
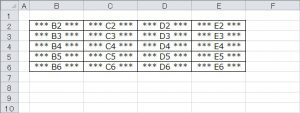
Borders.LineStyleプロパティで罫線の設定を行います。
Trueを設定するだけで実線が設定されますが、ヘルプなどを確認してもBoolean型を設定する記述は見られません。
実行プログラム
|
1 2 3 4 5 |
Sub Sample4_12_1() Range(Cells(1, 1), Cells(5, 4)).Borders.LineStyle = True End Sub |
業務で使用する帳票類であれば、これだけで問題ないことの方が多いと思います。
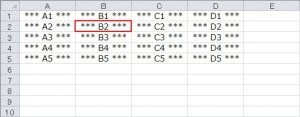
スタイルを指定して罫線を設定
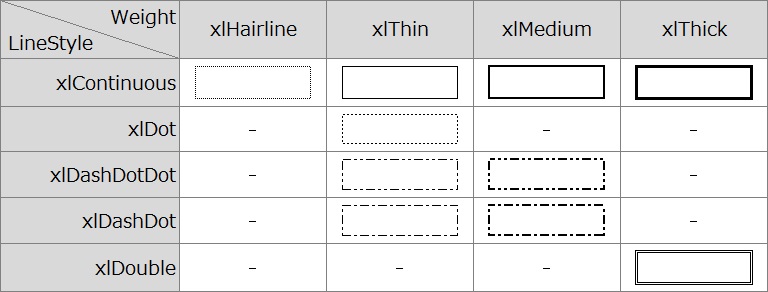
LineStyleプロパティで罫線の種類を設定します。
Weightプロパティで罫線の太さを設定します。
実行プログラム
|
1 2 3 4 5 6 7 8 9 |
Sub Sample4_12_2() With Cells(2, 2).Borders .LineStyle = xlContinuous .Weight = xlMedium .Color = RGB(255, 0, 0) End With End Sub |
LineStyle/Weight
表の罫線設定
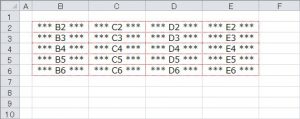
CurrentRegionプロパティを使うことで領域全体に自動的に罫線を設定することができます。
実行プログラム
|
1 2 3 4 5 6 7 8 9 |
Sub Sample4_12_3() With Cells(2, 2).CurrentRegion.Borders .LineStyle = xlContinuous .Weight = xlHairline .Color = RGB(255, 0, 0) End With End Sub |
セルの一部に罫線を設定
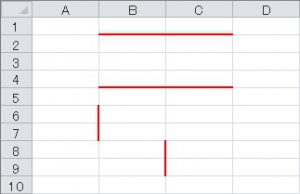
Bordersプロパティにパラメーターを設定することで罫線の設定場所を指定できます。
実行プログラム
|
1 2 3 4 5 6 7 8 9 10 11 12 13 14 15 16 17 18 19 20 21 22 23 24 25 26 27 28 29 30 31 |
Sub Sample4_12_4() ' 上側の罫線 With Range(Cells(2, 2), Cells(2, 3)).Borders(xlEdgeTop) .LineStyle = xlContinuous .Weight = xlMedium .Color = RGB(255, 0, 0) End With ' 下側の罫線 With Range(Cells(4, 2), Cells(4, 3)).Borders(xlEdgeBottom) .LineStyle = xlContinuous .Weight = xlMedium .Color = RGB(255, 0, 0) End With ' 左端の罫線 With Range(Cells(6, 2), Cells(7, 2)).Borders(xlEdgeLeft) .LineStyle = xlContinuous .Weight = xlMedium .Color = RGB(255, 0, 0) End With ' 右端の罫線 With Range(Cells(8, 2), Cells(9, 2)).Borders(xlEdgeRight) .LineStyle = xlContinuous .Weight = xlMedium .Color = RGB(255, 0, 0) End With End Sub |
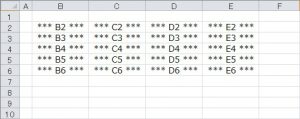
罫線の削除
実行プログラム
|
1 2 3 4 5 |
Sub Sample4_12_5() Range(Cells(2, 2), Cells(6, 5)).Borders.LineStyle = xlNone End Sub |


